
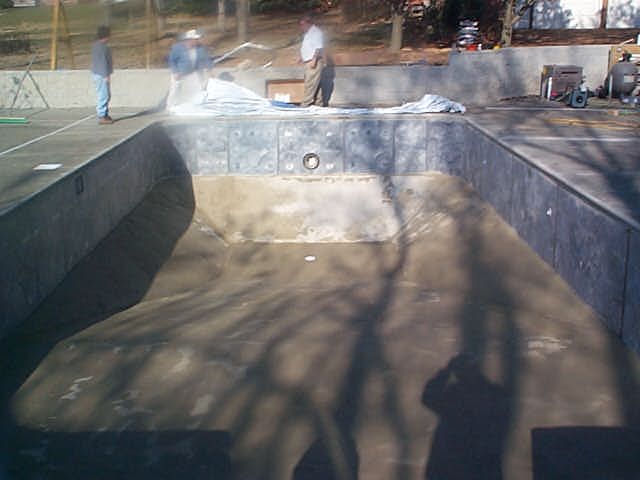
 1. Unfolding the liner should begin at the deep end of the pool unless otherwise directed. Remove all sharp edges and/or concrete burs as that may cut the liner. |
 2. The liner is stretched out across the pool and in the liner track in most places. Here we're trying to install the liner bead into the radius corner track. Sometimes it takes two people to push and pull on the liner to get it to move where it needs to be. |
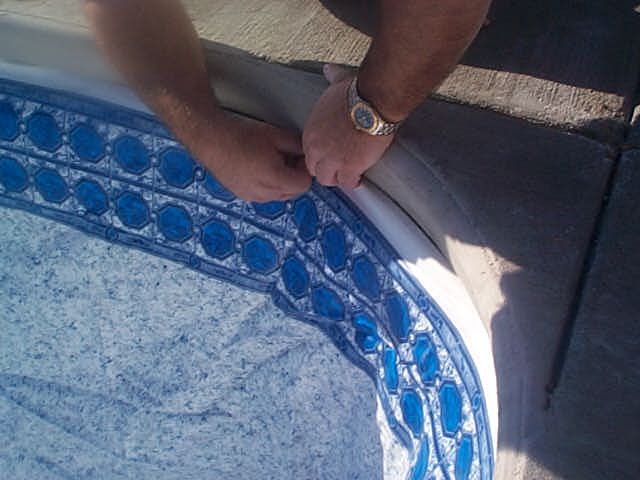 3. The liner is stretched out across the pool and in the liner track in most places. Here we're trying to install the liner bead into the radius corner track. |
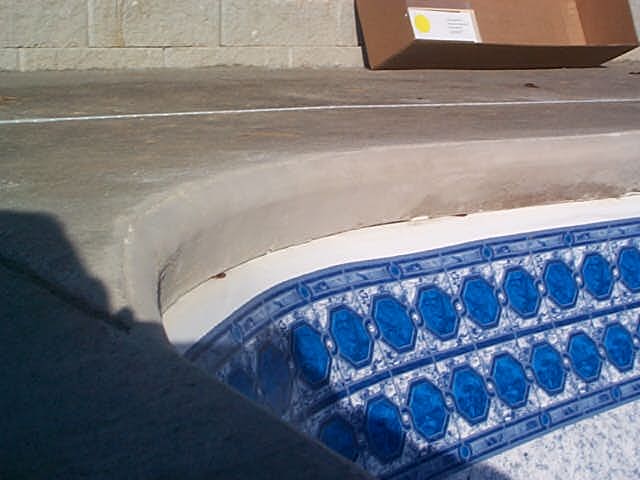
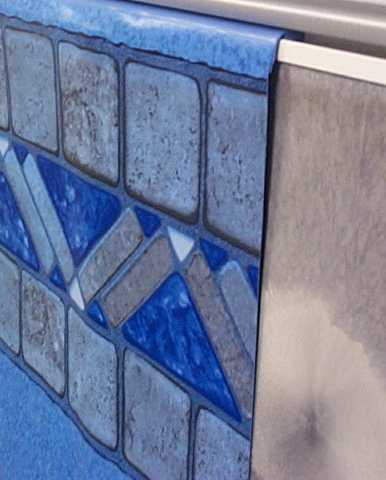 4. Here's a Side View Close-UP of How a Liner actually fits into the Liner Track. This is only a sample Picture, in the field the liner is one continuous piece around the pool. |
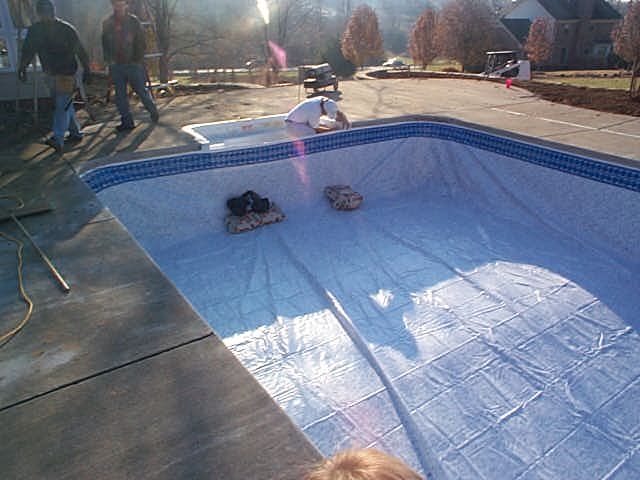 5. Once the liner is secured around the perimeter of the pool it is time to begin sealing the step area. In essence the liner should be as close to the step as possible. We use weight in protective bags to prevent the liner from being cut and place them as close as possible to the step. This will help keep the liner against the steps so we can seal around them. An air tight seal needs to be created around the pool liner so the vacuum can pull all of the air out from under the liner. Most of the wrinkles will go away during the vacuum process. Usually the remaining wrinkles can be pushed to the side and made to go away once most of the trapped air is removed. |
 6. Here the liner is being sealed to the step using duct tape. Be sure to create an air tight seal so a good vacuum can be pulled. |
 7. In order to pull all of the air out from under the liner we need to try and make the liner somewhat air tight. The steps can be easily overcome by using duct tape across the liner and onto the steps. Another way to do that is with a 4' x 8' of plywood with a 2' x 4' on the front with a piece of liner track attached. Then you simply duct tape the plywood to the deck and not worry about duct taping the liner to the steps. |
 8. There are times when the liner will pull out of the vinyl liner track. If you run out of liner lock it is possible to use coins to wedge the liner in the track. Once the vacuum seal is completed and the pull fills with water, the liner locking materials should be removed. |
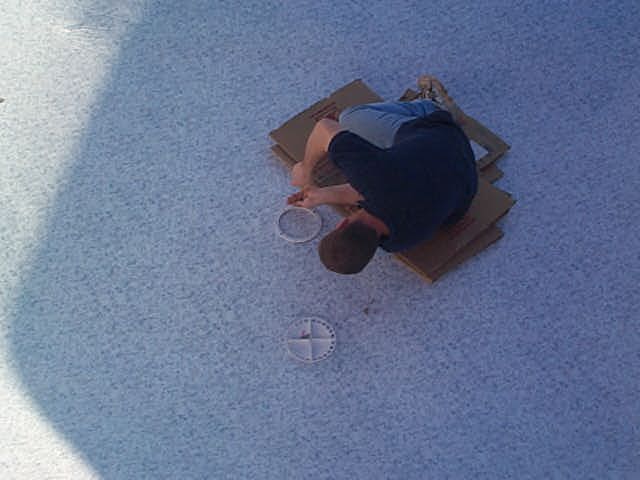 9. Once all of the air is pulled out of the liner and it is where it needs to be, the main drain ring can be put on. Be careful walking down the slope of the pool as it may be slippery. Never walk inside of a vinyl liner pool with sharp instruments. Do not throw things into the pool, but hand them in. First, feel for the main drain. Second, using your fingers locate one of the screw holes. Place the ring over the main drain and start the first screw. Leave the screw loose enough so the ring will swivel around out of the way. Next, locate a screw hole on the other side. Slide the ring back around and put in that screw. Once two screws on opposite sides of the ring have been found, put in the remaining screws. Be sure the screws are tight. Be sure you don't slip with the screw driver and puncture the liner. ALWAYS PROTECT THE LINER. Once the ring is tight, using a utility knife cut away the liner on the inside of the ring and install the anti-vortex main drain cover. |
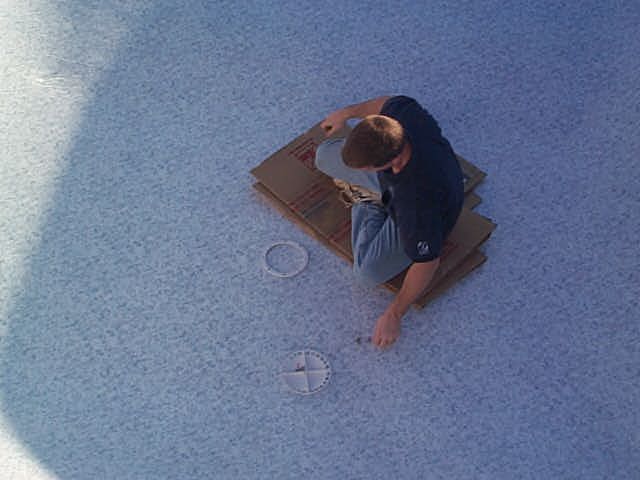 10. Here the main drain ring is first screwed into the drain which is underneath the liner. Simply probe around the edge of the main drain with your fingers until you locate one screw hole. Place the ring over the drain and press the main drain screw through the liner and into the hole that was found. From there you should be able to find the remaining holes and screw them in as you did the first. Once the ring in SECURELY screwed down onto the main drain take a knife and cut around the inside part of the ring to open up the main drain. Remove the liner from the drain and secure the main drain anti-vortex lid onto the main drain. It is important to note that only socks or bare feet should be used when walking on the liner. Don't have anything sharp in your hands or pockets that may puncture the liner if you fall. |
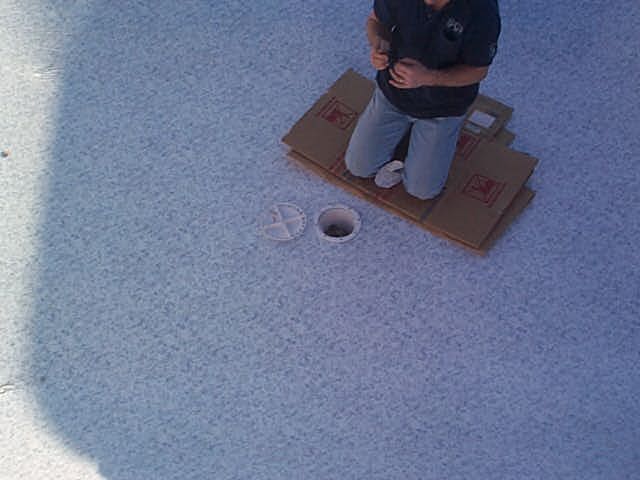 11. Once the ring in SECURELY screwed down onto the main drain take a knife and cut around the inside part of the ring to open up the main drain. Remove the liner from the drain and secure the main drain anti-vortex lid onto the main drain. It is important to note that only socks or bare feet should be used when walking on the liner. Don't have anything sharp in your hands or pockets that may puncture the liner if you fall. |
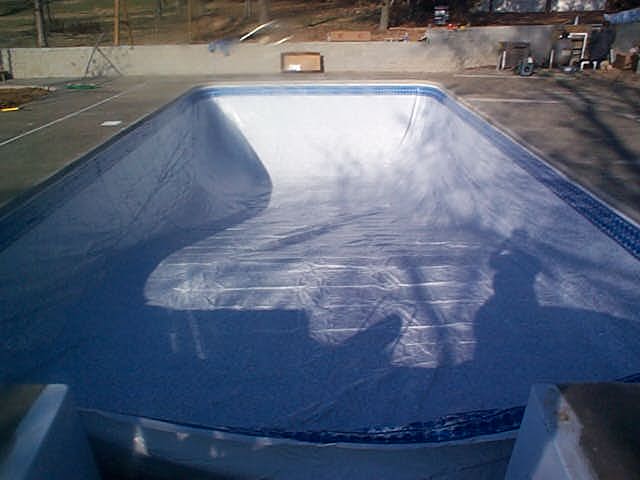
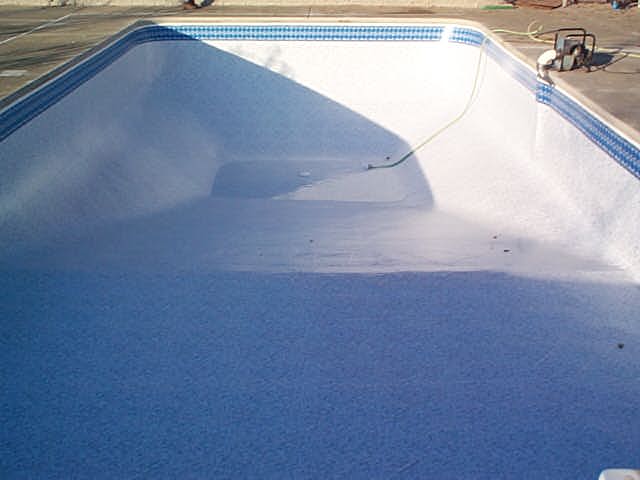 12. This is a nice picture of the pool beginning to fill after the drain has been cut out and the vacuum still pulling out air. |
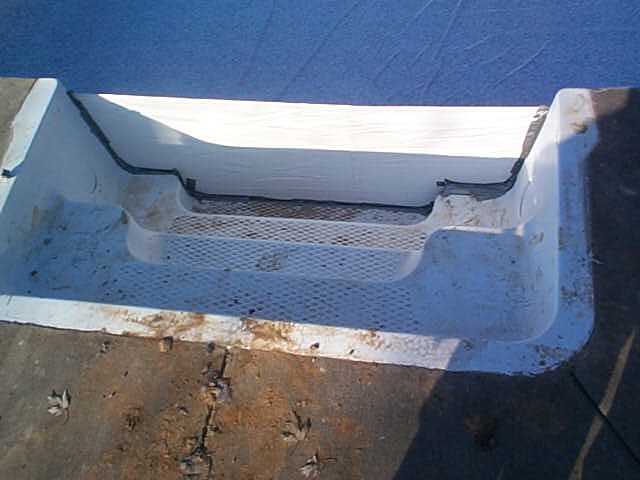
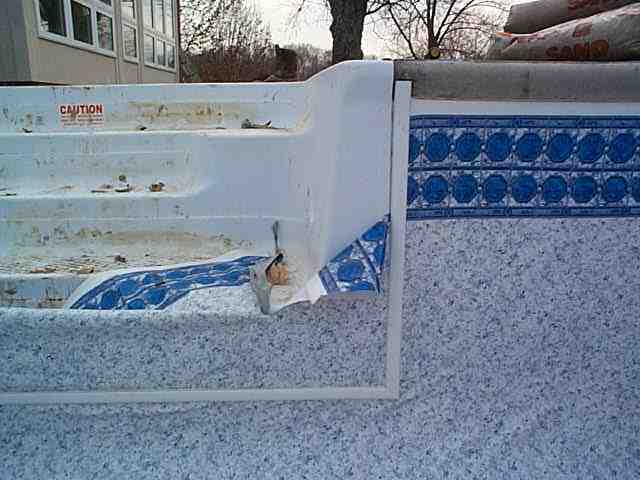 13. Once the liner is pulled back sufficiently install the face plates on the steps and remove the liner as shown above. |
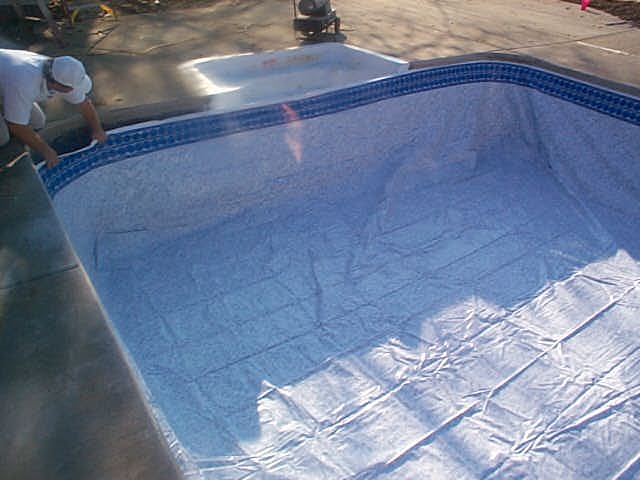
 14. This is what the liner should look like once it is installed along the liner track but prior to vacuuming. |
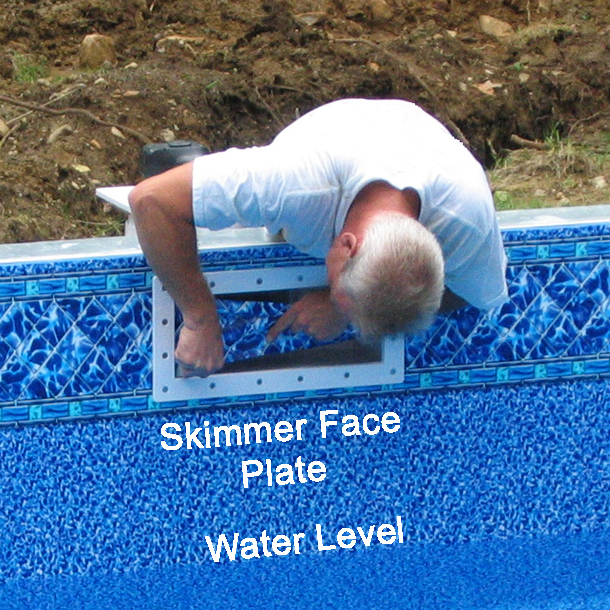 15. Once the liner is installed and the pool water level is only a few inches away from the skimmer opening, it's time to carefully and securely install the skimmer face plate in place with all screws. Then cut the liner on the inside of the skimmer face plate as shown in the picture. |
