
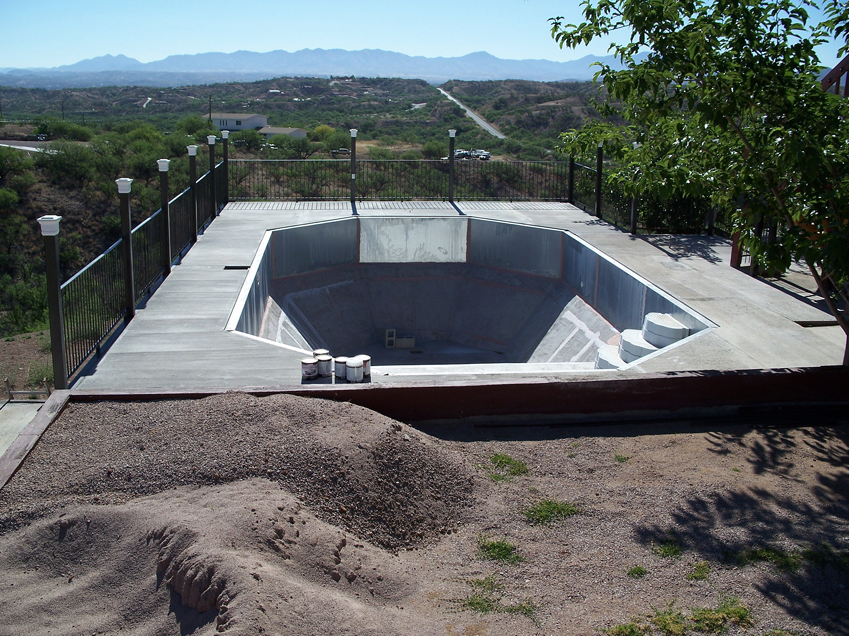
 This on ground pool was built by a retired customer in Arizona.
|
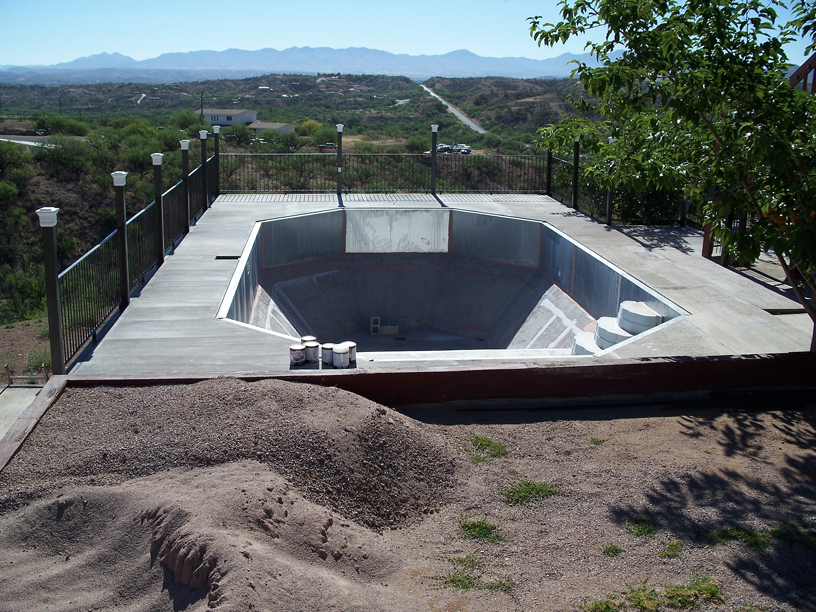
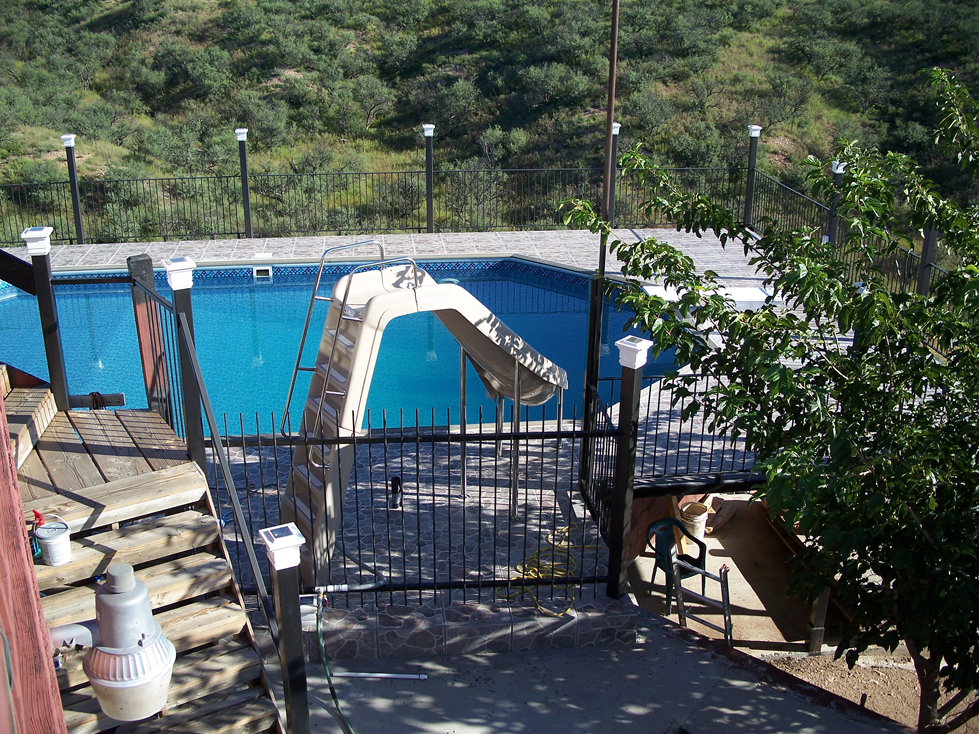 Same on ground Pool in Arizona, just a different view.
|
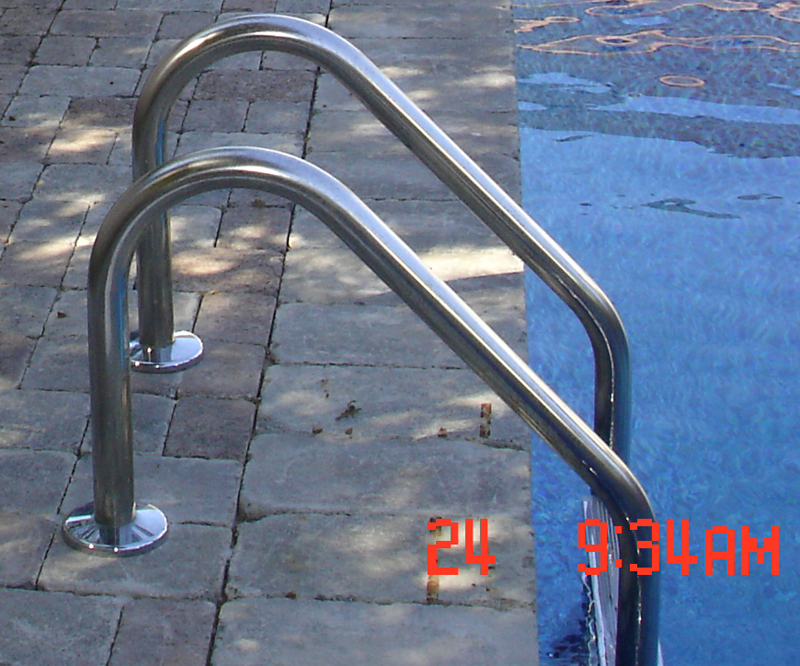
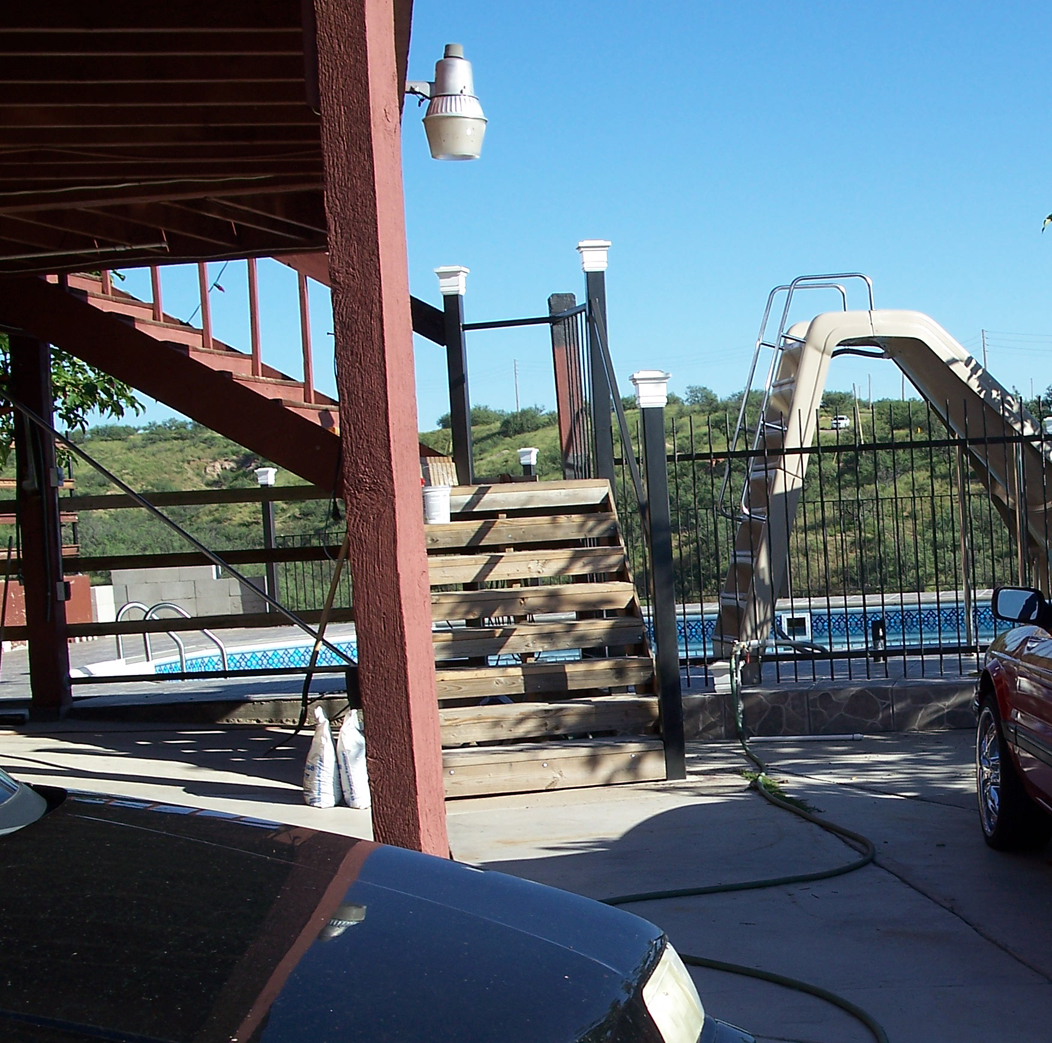 Side View coming up onto the deck of one of our do it yourself on ground pools.
|
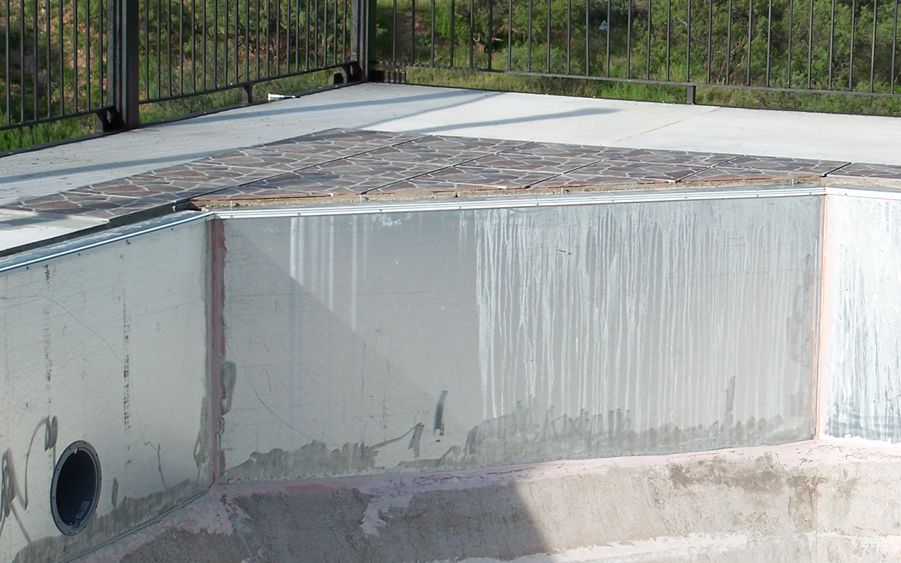 On ground pool walls
|
 Paver Decking System |
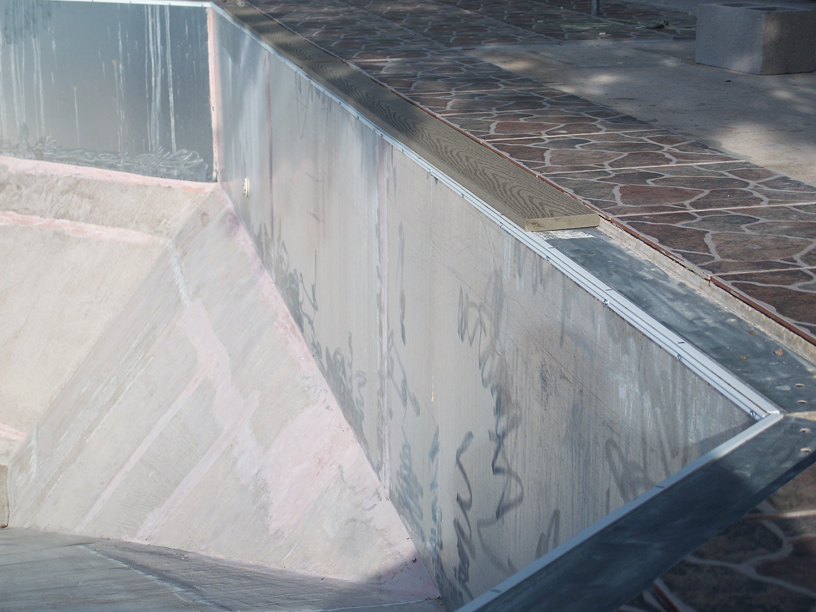 Quasai paver deck with pressure treated wood coping edging
|
 Self taping stainless steel screws are provided and used to secure the pools vinyl liner strip to the wall. |
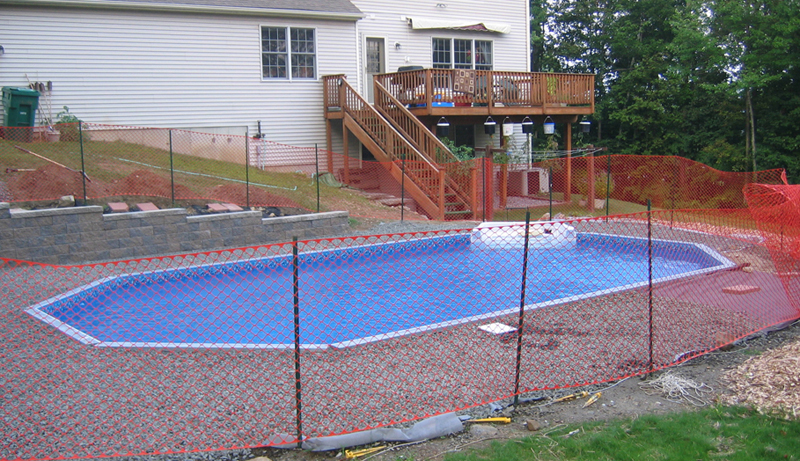
 Long View of on ground pool
|
 Long view of house with on ground pool.
The on ground pool is located on the left hand side of the picture. |
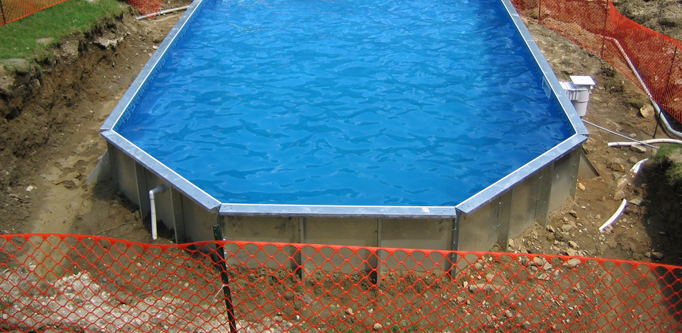
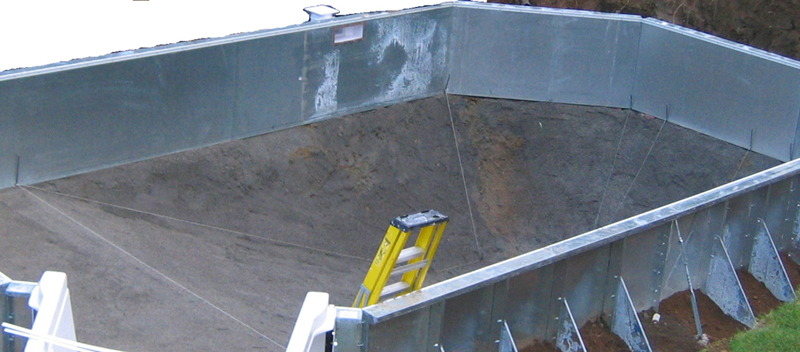 Pool wall assembly is in place, level and square.
The string lines are in place as a visual guide to get the pool bottom material to the right level. |
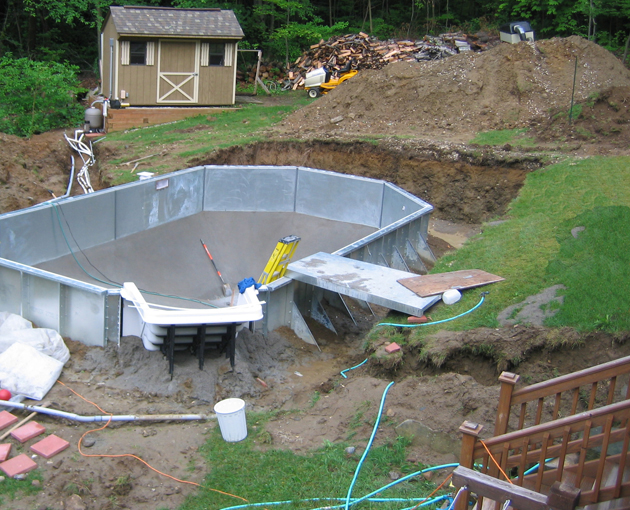 Pool walls are assembled and the walk-in pool step is secured in place using concrete. The pool bottom material has been put in place.
|
 Pool Liner Installation
|
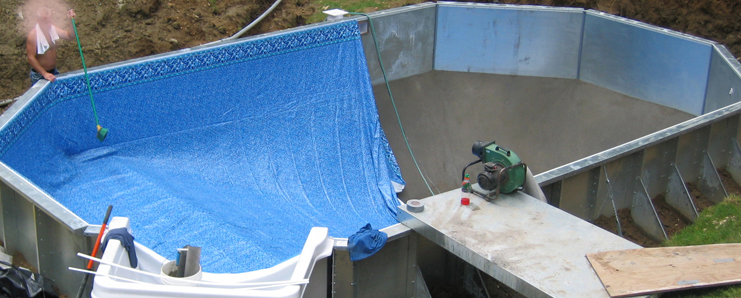
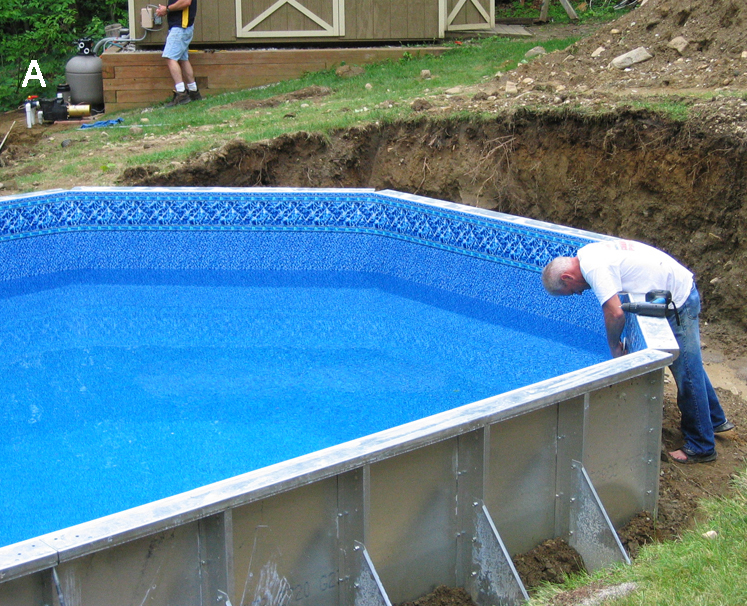
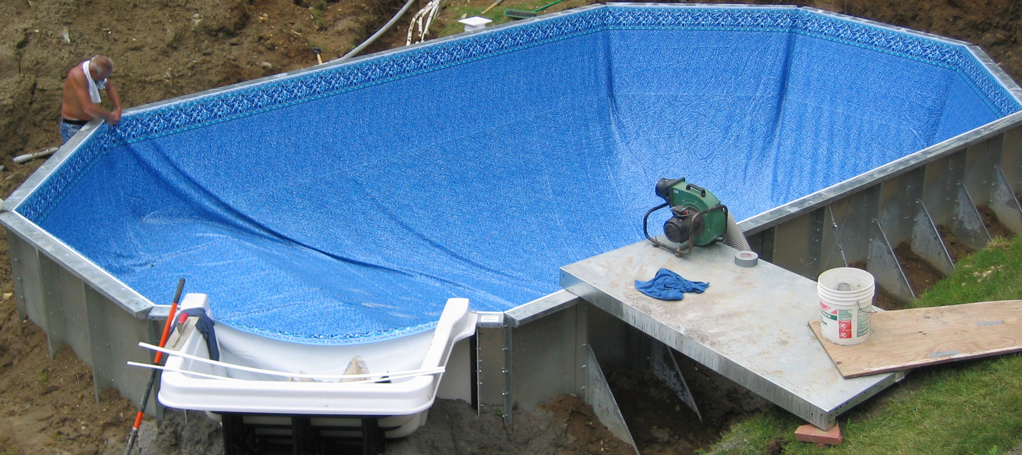 Final steps of the pool liner installation. The green vacuum sitting near the pool wall is used to vacuum air out from behind the liner, causing it to lay against the walls and the pool bottom.
|
 Here you should notice that the liner is completely installed around the pool and the step is NOT cut in yet. The step does not get cut in until after the step strips are installed and the water level is up near the bottom step. Also note the vinyl liner is sealed against the step with duct tape to help create a vacuum lock during the air evacuation process of pool liner installation.
|
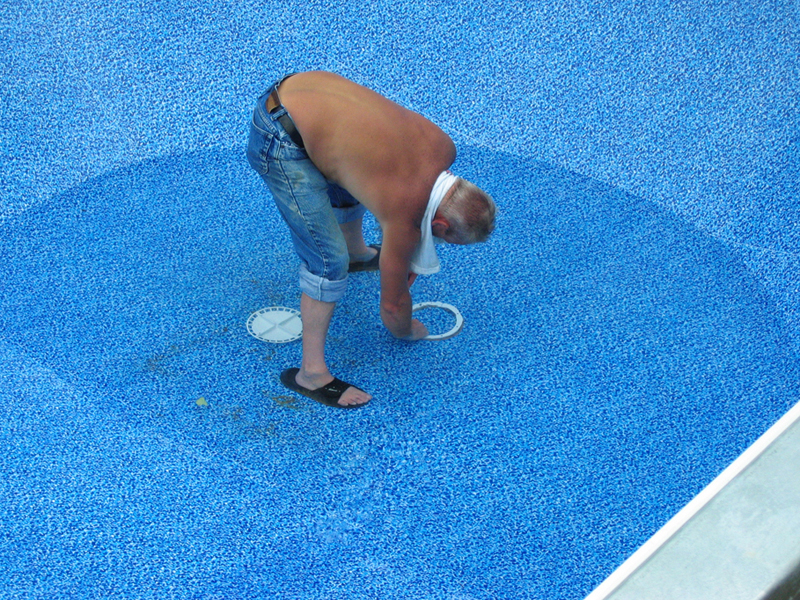 Once the liner is installed and the pool has only a few inches of water in the deep end, it's time to carefully and securely install the main drain ring in place with all screws. Then cut the liner from inside the drain ring to expose the drain, then install the main drain cover.
|
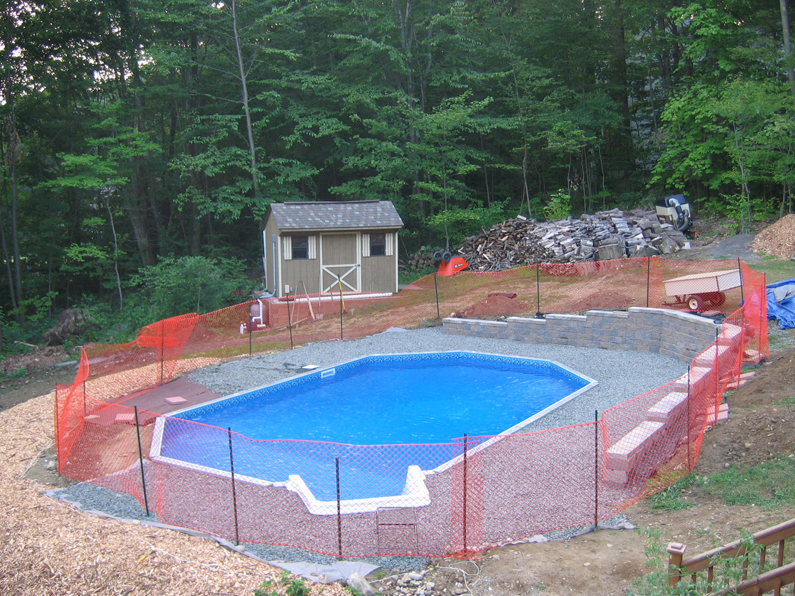
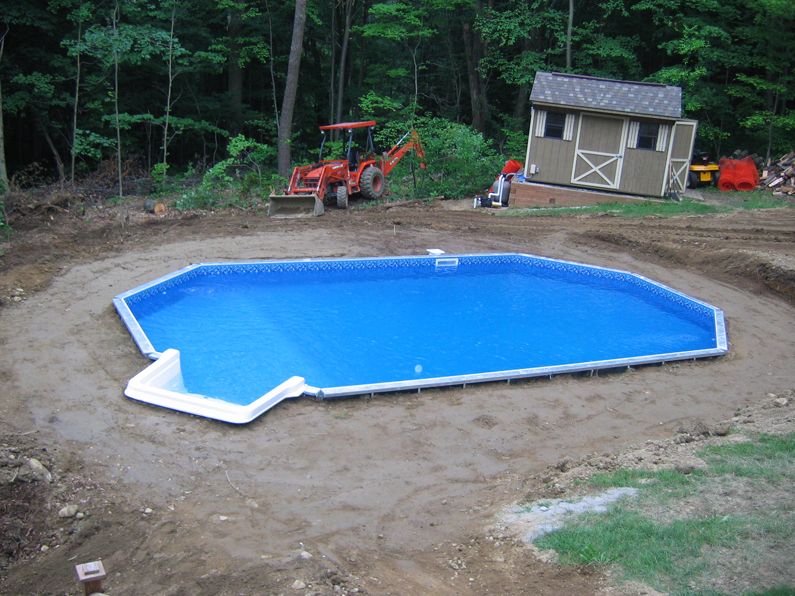
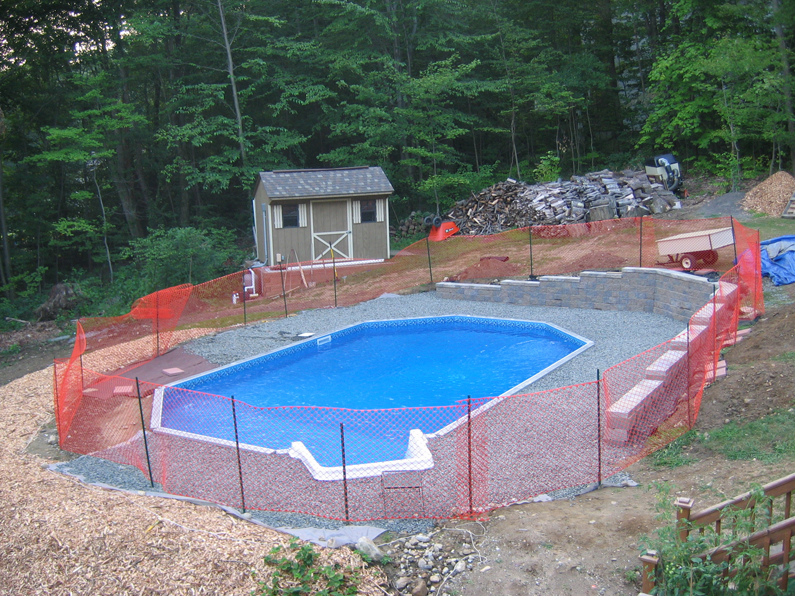 This on ground pool is full of water and a temporary fence is used.
|
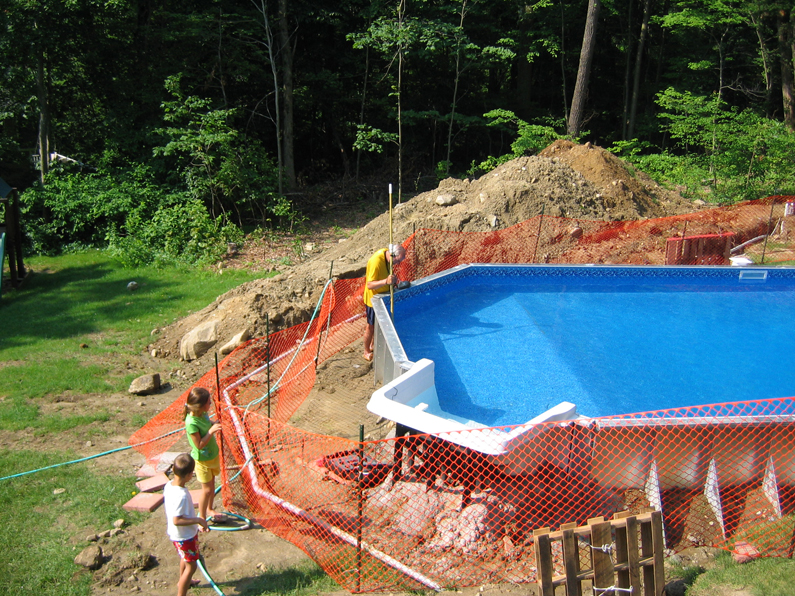
 On ground pool Installed into a sloping yard
|
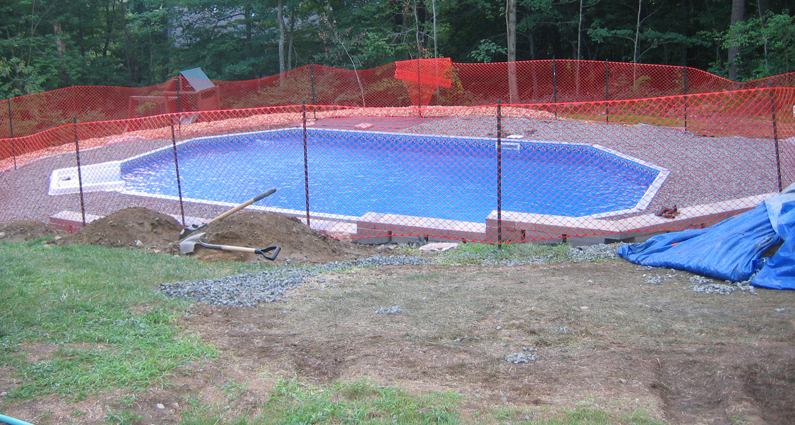
 On ground pool Installation into a sloping yard - Long View
|
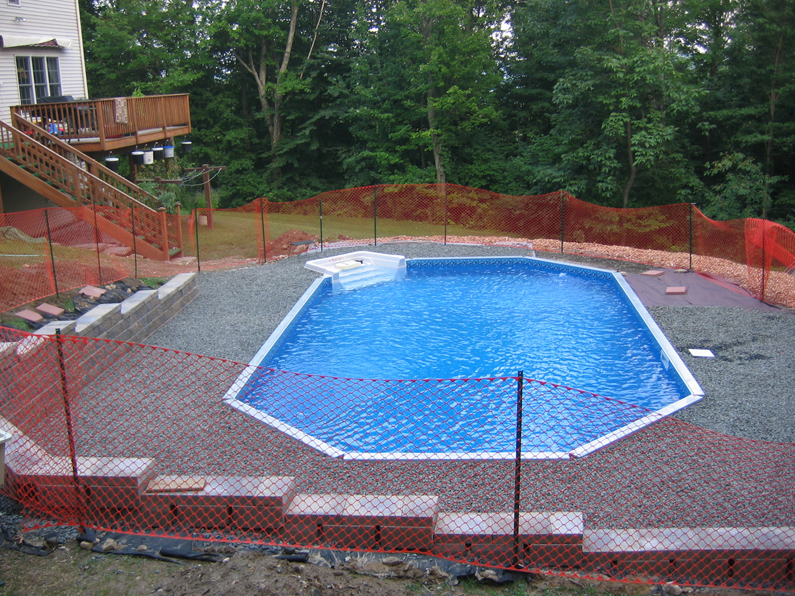
 On ground pool Installation awaiting a deck
|
 Attaching on ground swimming pool light
|
 Notice that the pool does not require a concrete footer or back filling. This pool is sitting on top of the ground and is in the process of being filled with water.
|
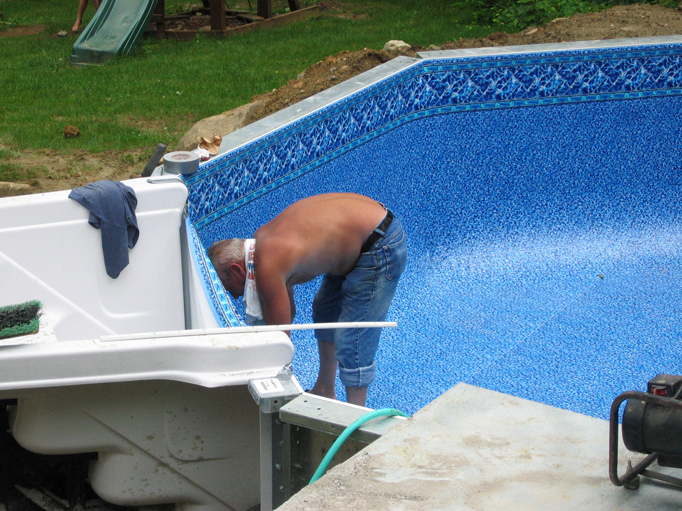
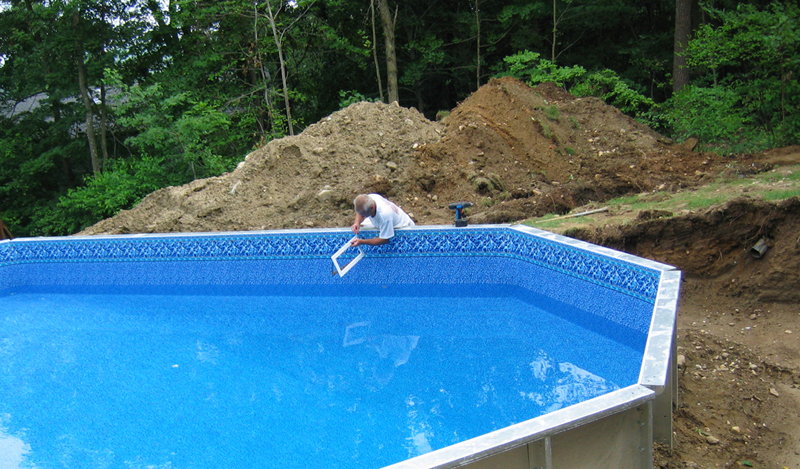
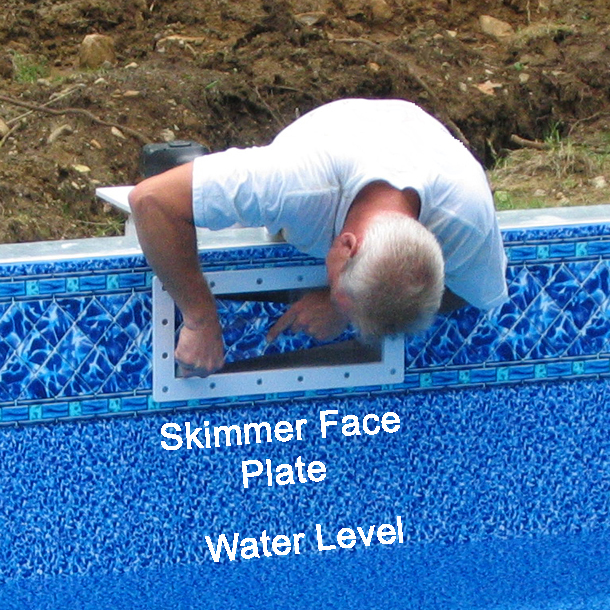 Once the liner is installed and the pool water level is only a few inches away from the skimmer opening, it's time to carefully and securely install the skimmer face plate in place with all screws. Then cut the liner on the inside of the skimmer face plate as shown in the picture.
|
 On ground Swimming Pool Installation
|
 |
 On ground Swimming Pool Installation Pre-Backfill
|
 |
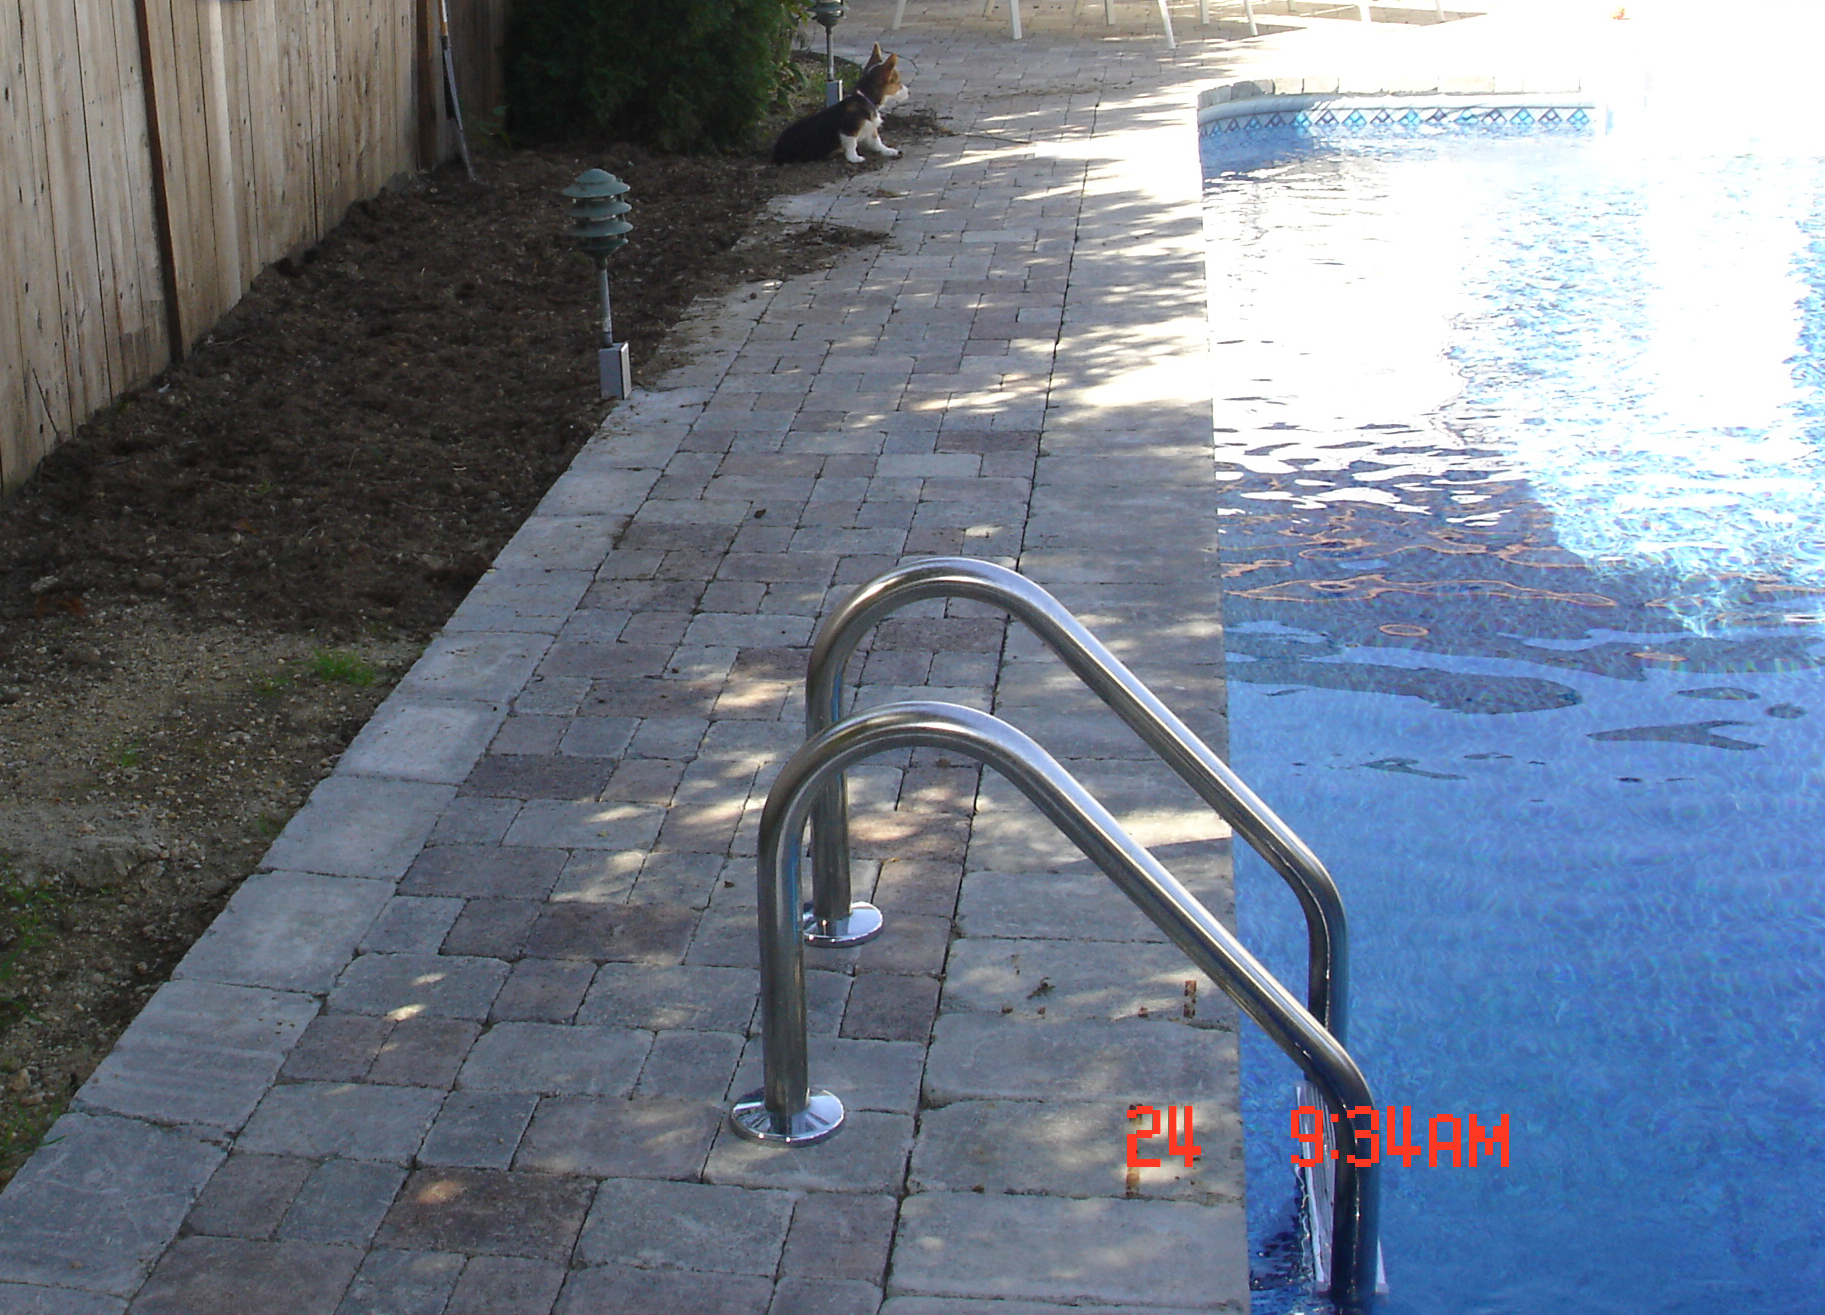 On ground swimming pool installation with paver deck system |
 |

